Lightweight Classic Mirror Installation Guide

Step 1) Remove Factory Mirrors and clean surface. Please keep the two factory phillips head screws which fasten the mirror to the door.
Step 2) Lightly fasten the Mirror Mounts to the door. The screws used to mount the factory mirrors will be reused to fasten these mirror mounts to the door. Please note both the plastic and metallic mounts are directional. The Plastic Mount has a FRONT indicator, please make sure the arrow is pointing to the front of the car. If the metallic mount is on backwards, the mirror will end up slightly further back on the door. Please note the direction shown on the below photos.
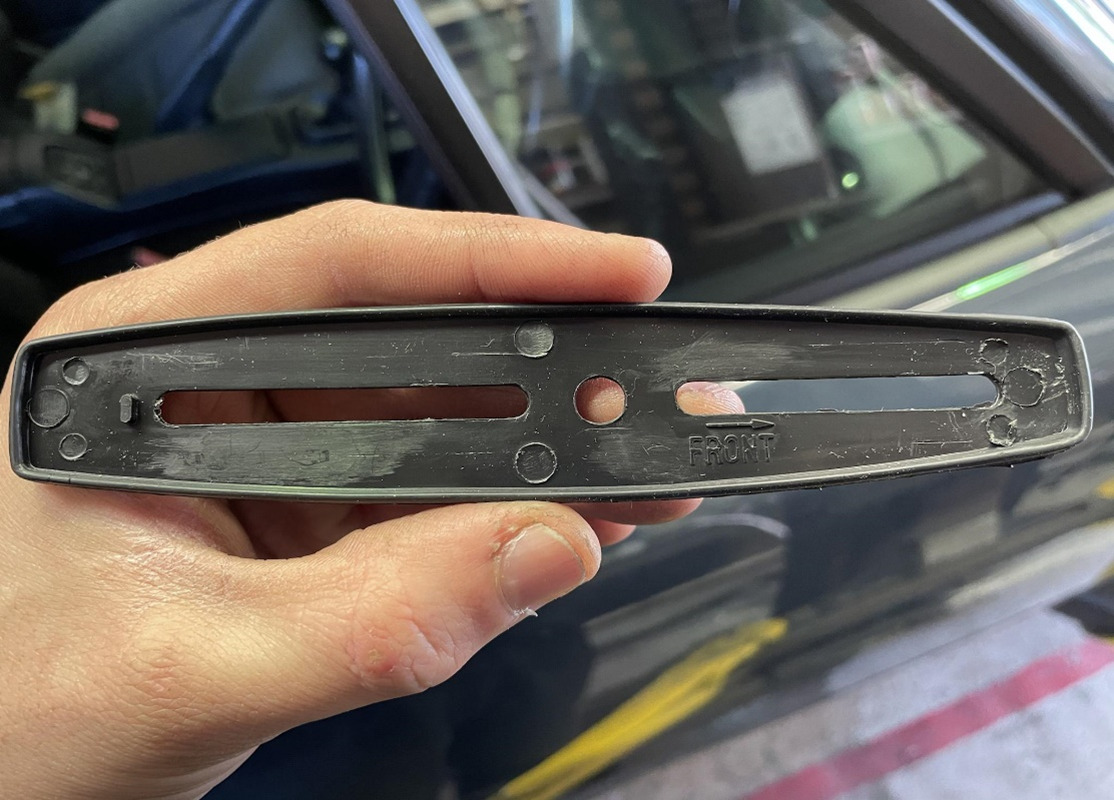
FRONT indicator on plastic mount. This arrow needs to point to the front of the car.
Please note that this is the RIGHT door is being used in the example photos.
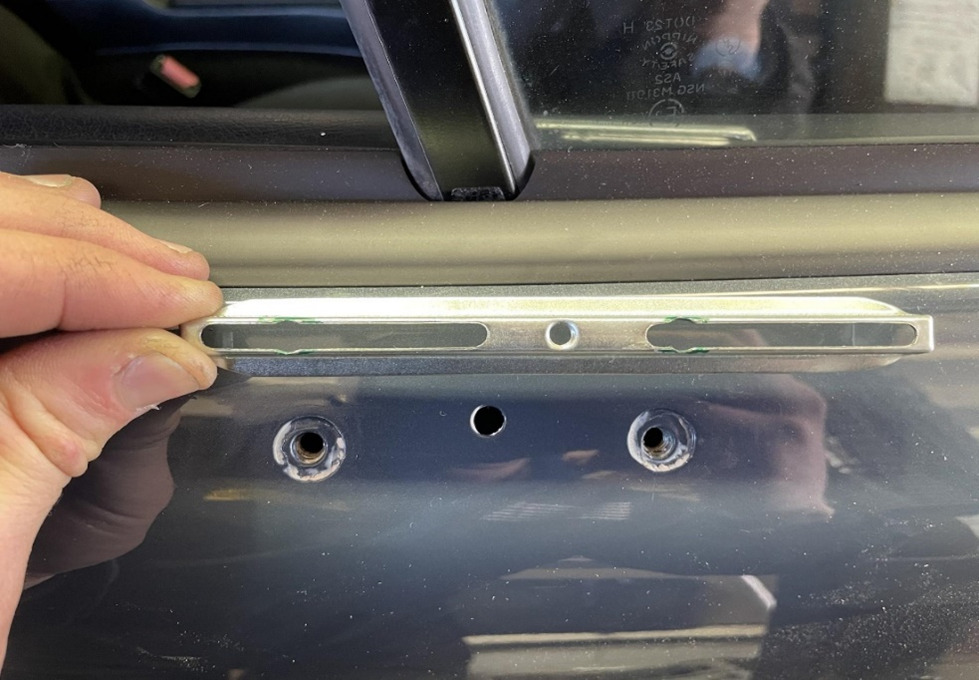
This is the orientation we always install the metallic mounts on. If you were to rotate this piece you would find that the centre threaded hole will be further back on the door.
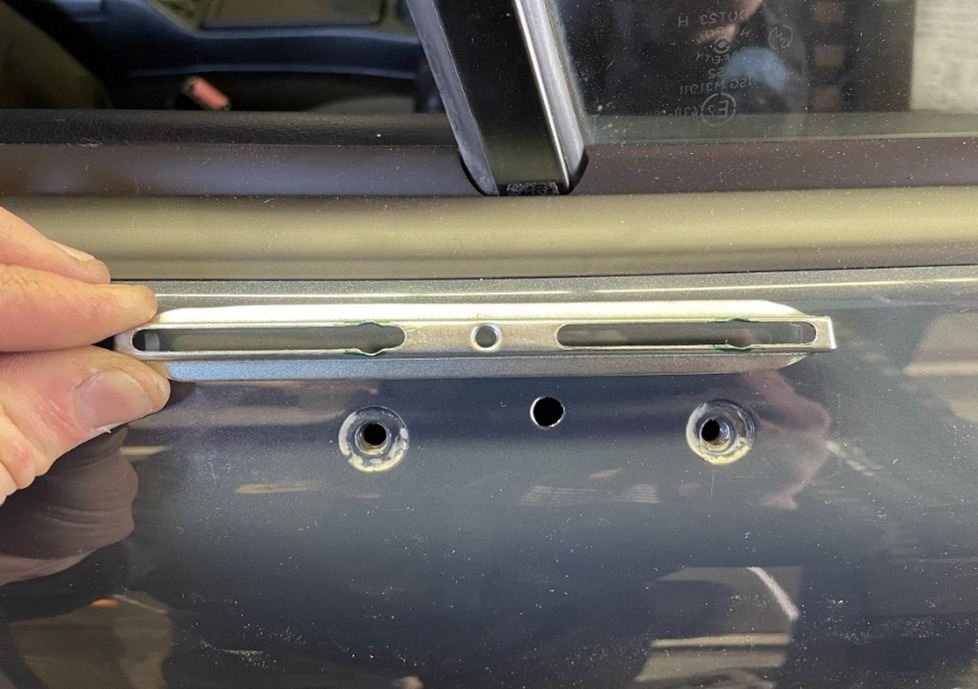
This is the INCORRECT orientation for the mirror munts
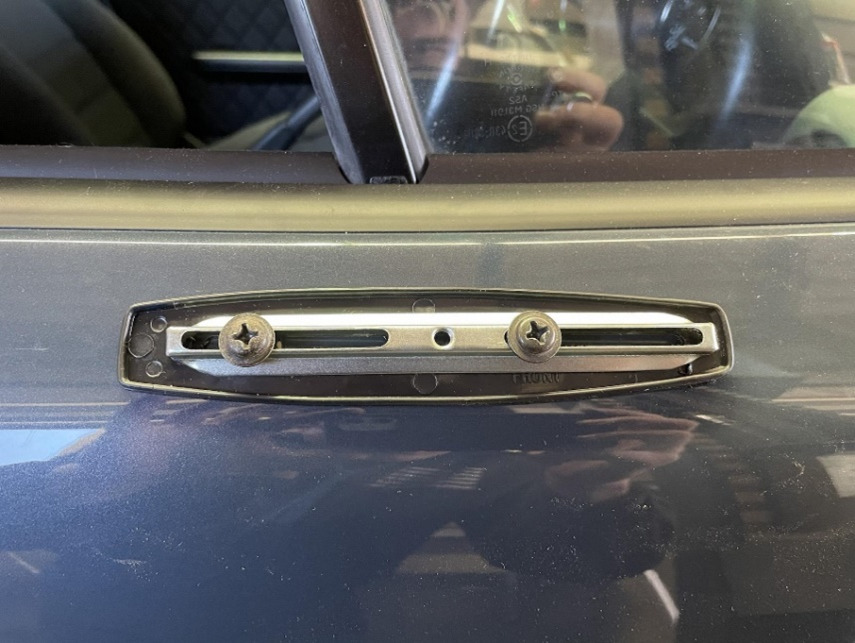
Loosely fasten both mounts onto the door. For now the bolts just need to lightly hold the mounts onto the door as you may need to make minor adjustments to the position of the mounts.
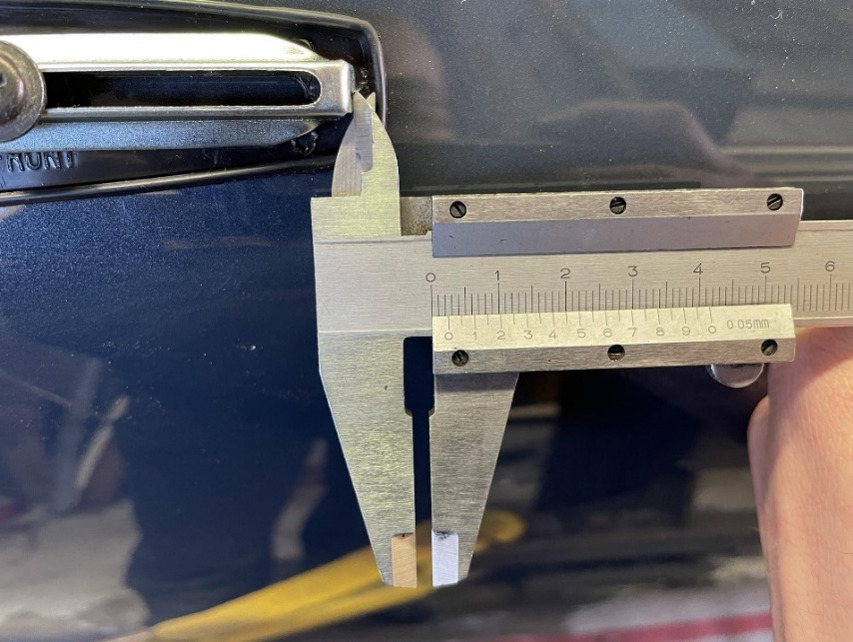
You will need roughly 2-3mm of clearance between the metal and plastic mounts, as the base of the mirror itself will slot between this gap.
Step 3) Test Fit the mirror to the door
This step is just to ensure you have enough clearance between the two mounts and the Mirror base. If the mirror base can fit without any obstructions, remove the mirror and tighten the mounts firmly onto the door.
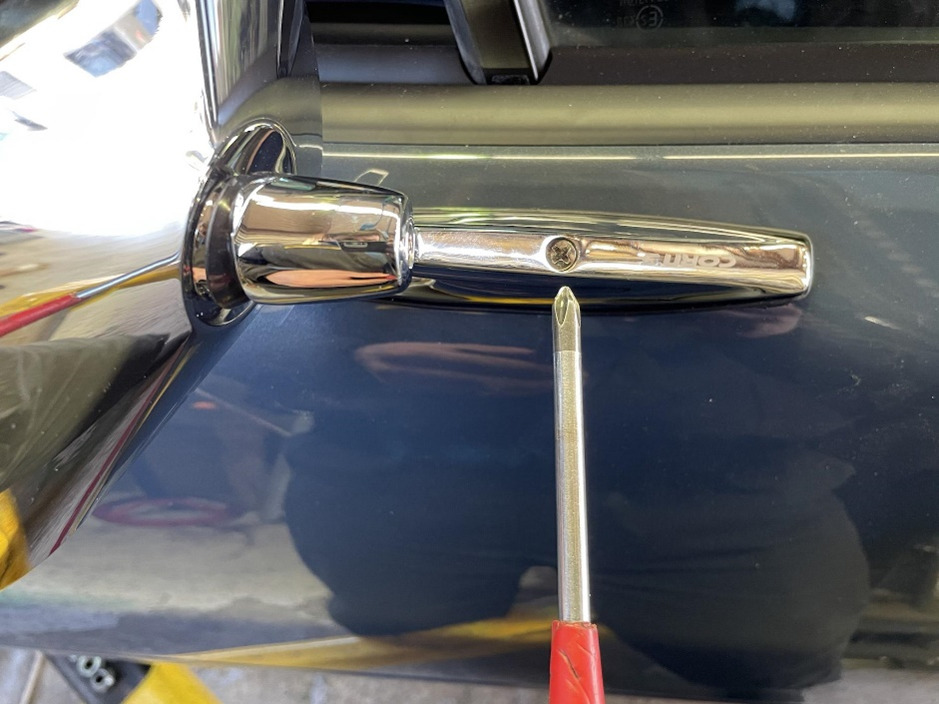
This is the bolt used to affix the mirror onto the mirror mount.
Step 4) Fasten the mirror to the mirror base and adjust the mirror.
The mirror itself is attached to the base by 1 screw.
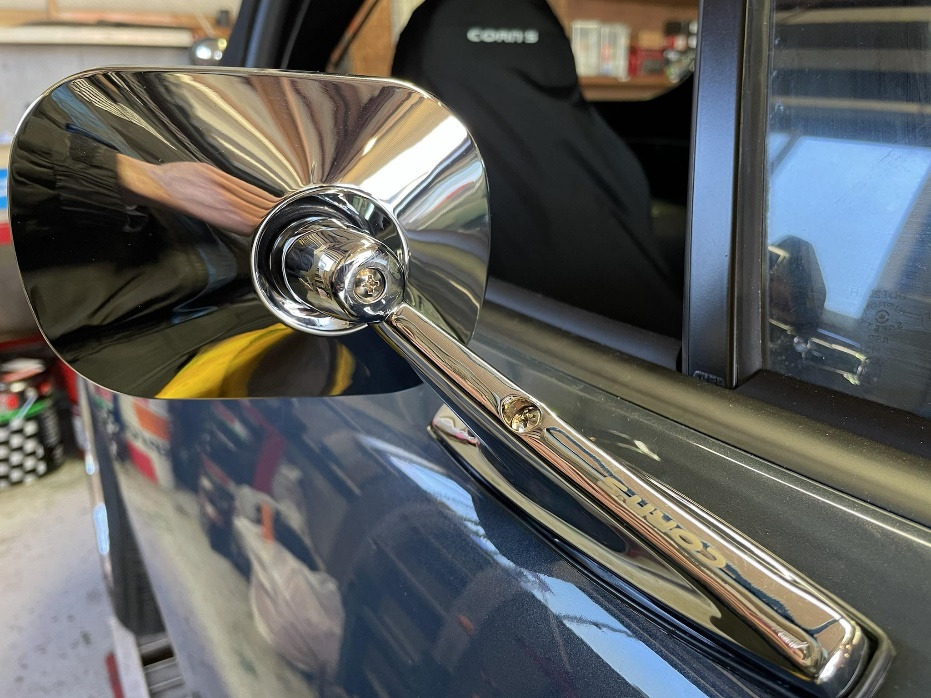
The viewing angle of the mirror can be locked in place by the phillips head screw on the pivot point of the mirror. Please loosen prior to adjusting the angle.
